
The ideal
screenshot tool.

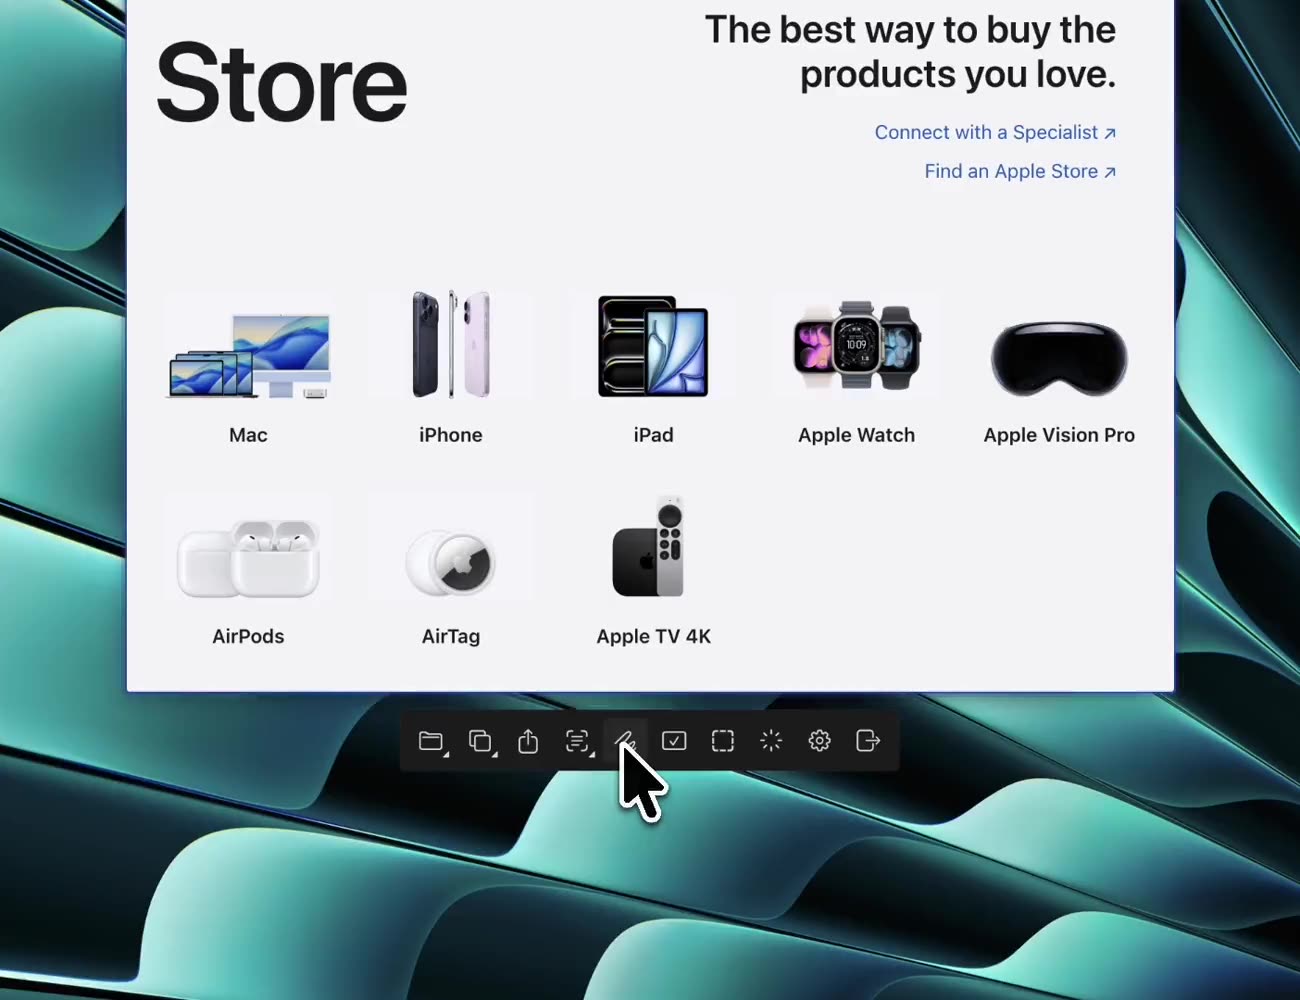
Capture anything on your screen, translate it, record it, annotate it, and keep it on top. The everyday work that happens on a screen, made quick and effortless.

Features

More than a screenshot.

Capture, every way

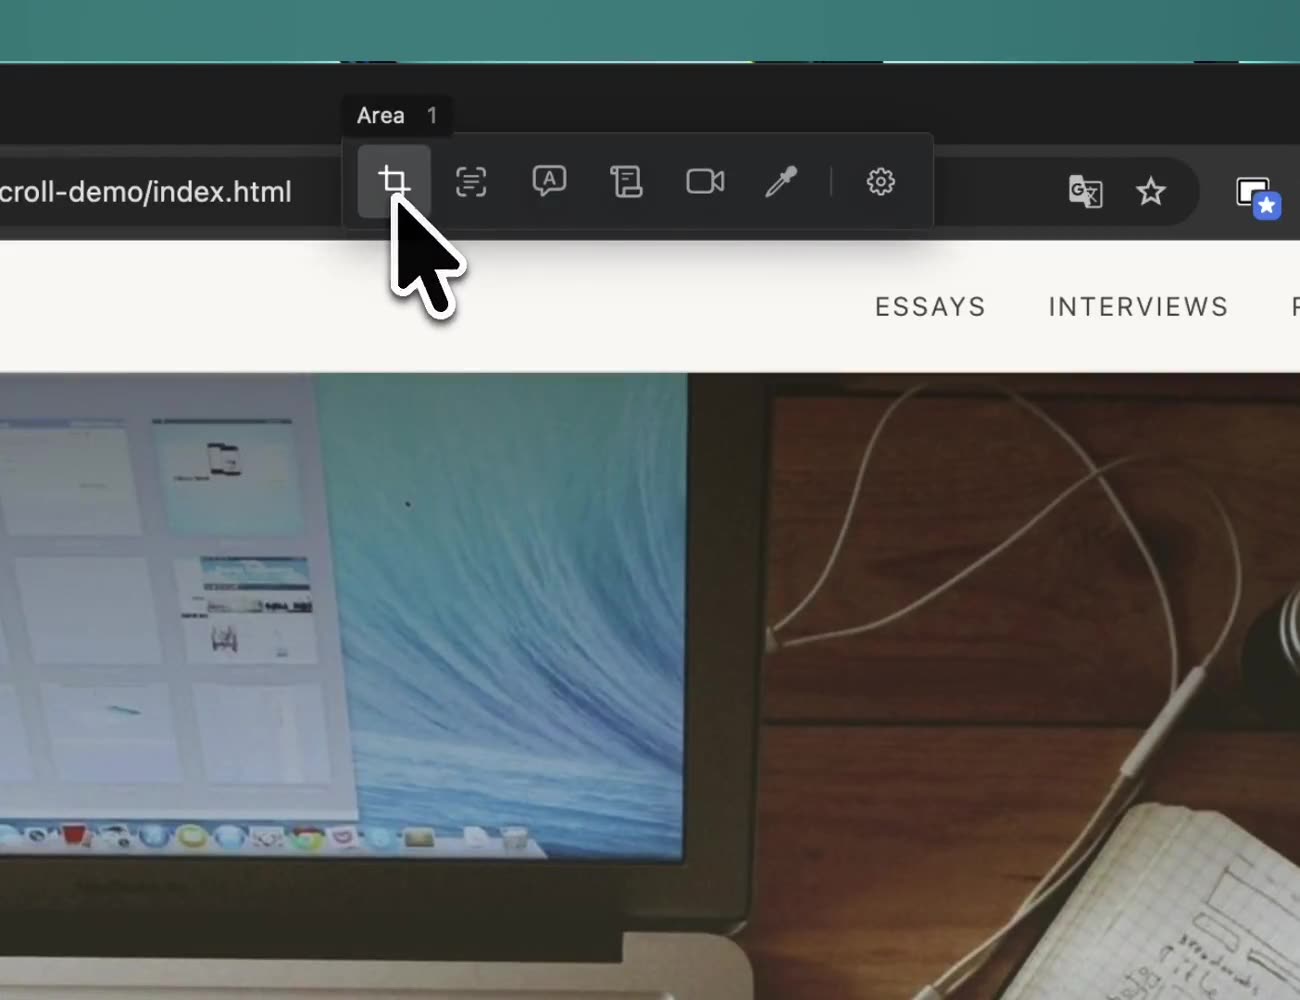
Tracer stays true to what a screen capture tool should be, and it is also a great translator, markup tool, and design assistant. It handles the work you repeat every day on a Mac, smoothly.

Scrolling capture Window capture Full screen Repeat last region Video GIF Color picker Cutout are all built in.
Floating shots

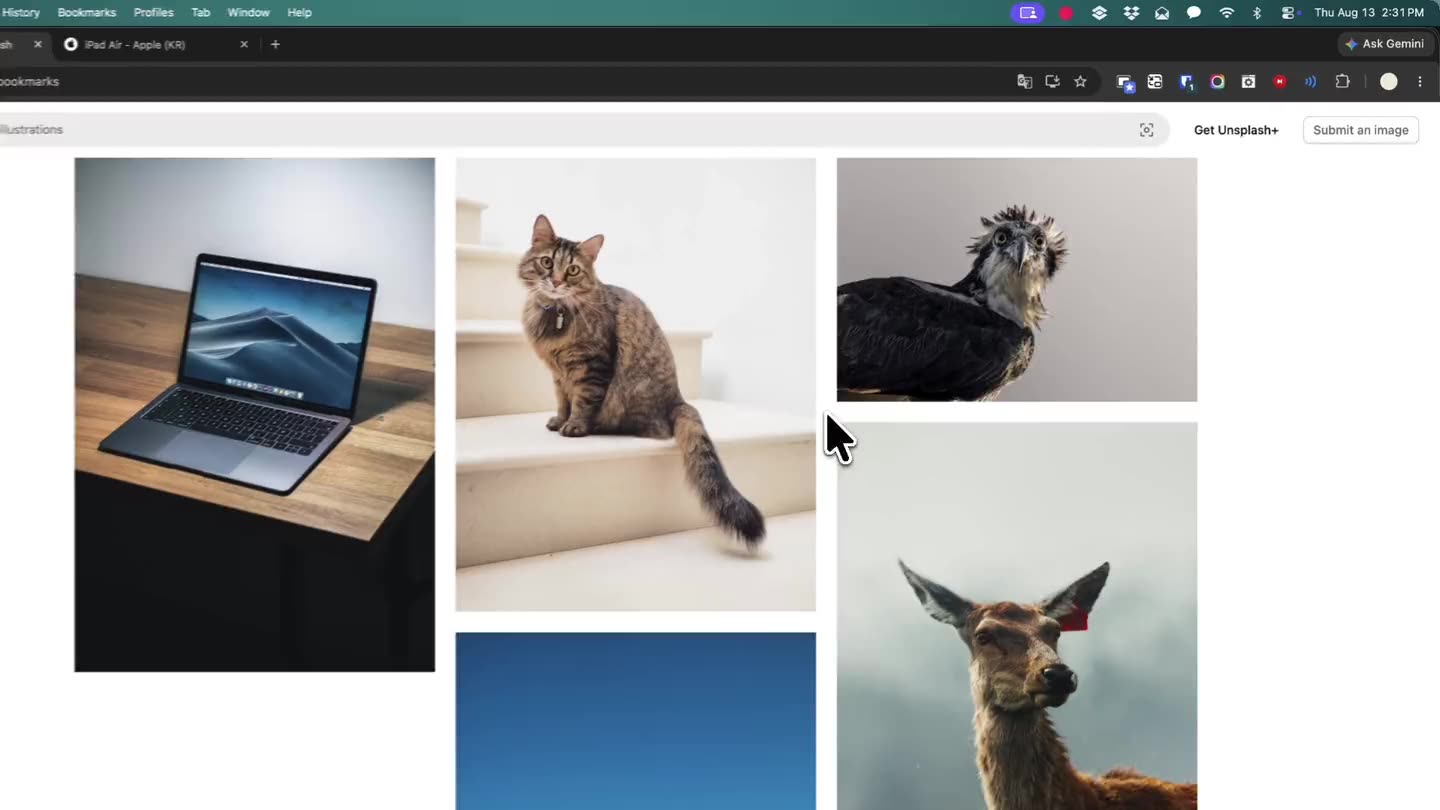
No more bouncing between windows. Capture just the part you need and pin it above everything else, and even a small screen feels bigger. Keep a reference beside your work, or line two things up to compare.

OCR & translation

Pull the text out of any capture and translate it on the spot. The built-in translation is plenty on its own. When accuracy matters, connect DeepL; when speed matters, Google Cloud Translation. Text you can select needs no capture at all: just drag over it to translate.

Drop zone

Drop an image onto the drop zone. From the web or from your Mac, the original becomes a floating shot instantly, with no capture needed. Or send it straight to a favorite folder you’ve set up.

Focus

Keep every reference you need on screen. Run Focus, and everything except that shot is hidden. Your screen stays clear.

One workflow

Capture an image and mark it up. Record a video, trim it, and share. Keep the whole workflow inside Tracer, with no other app needed.

Tracing

Switch a floating shot into tracing mode. Clicks pass straight through to the app beneath, so nothing gets in your way. Blink the reference on and off, and only what changed between the two images is highlighted.

One cup of coffee

Tired of subscriptions? Pay the price of a single coffee and use Tracer for life.

Collection folders

Sort your media your way with up to five extra save folders beyond the default.

Live translation

See the translation update in real time while you’re still selecting the capture area. (API connection required)

Pixel-perfect capture

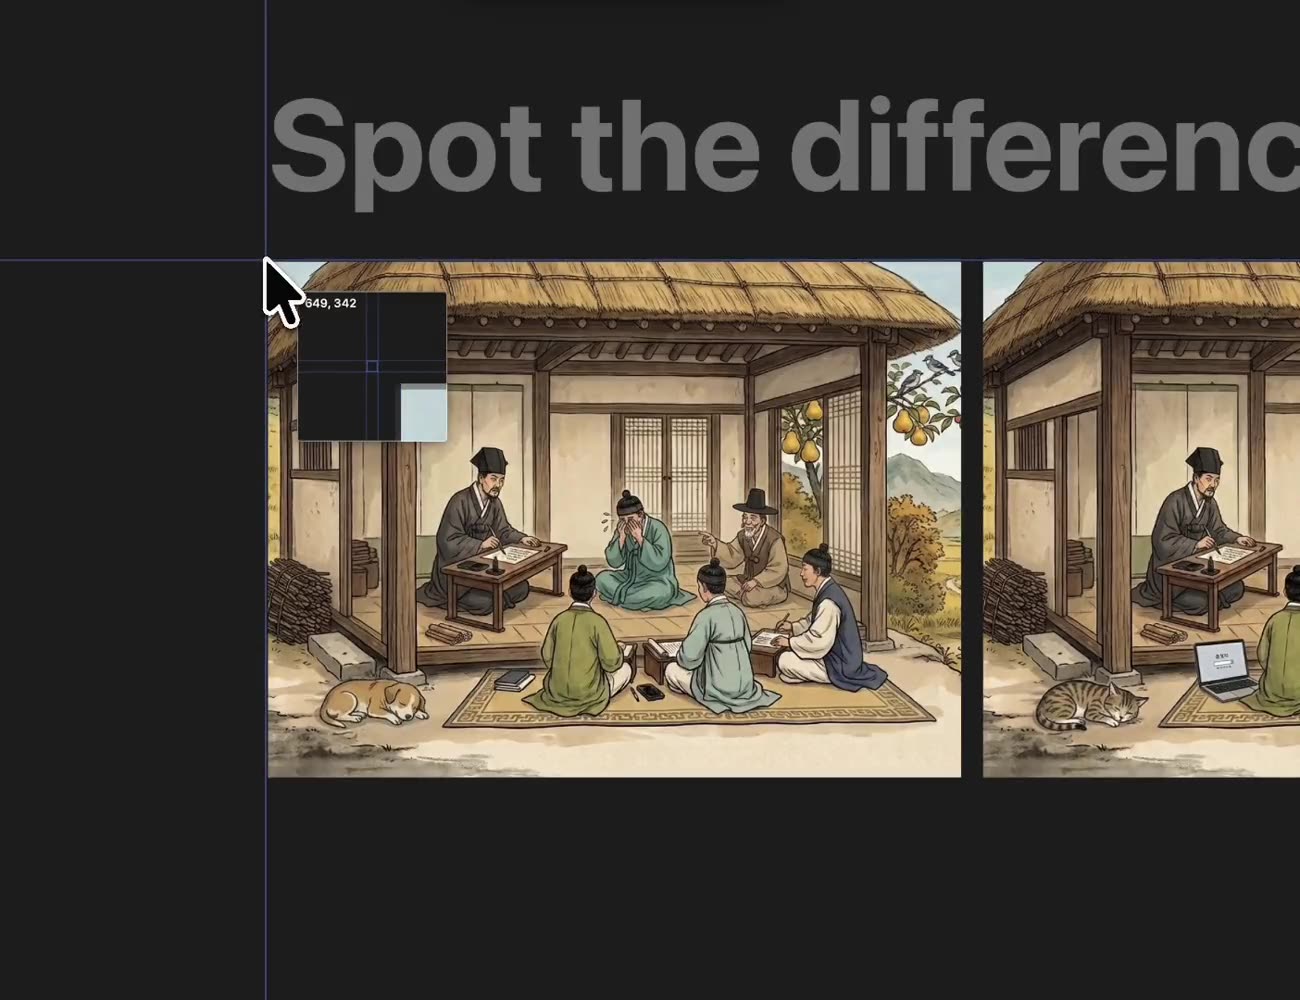
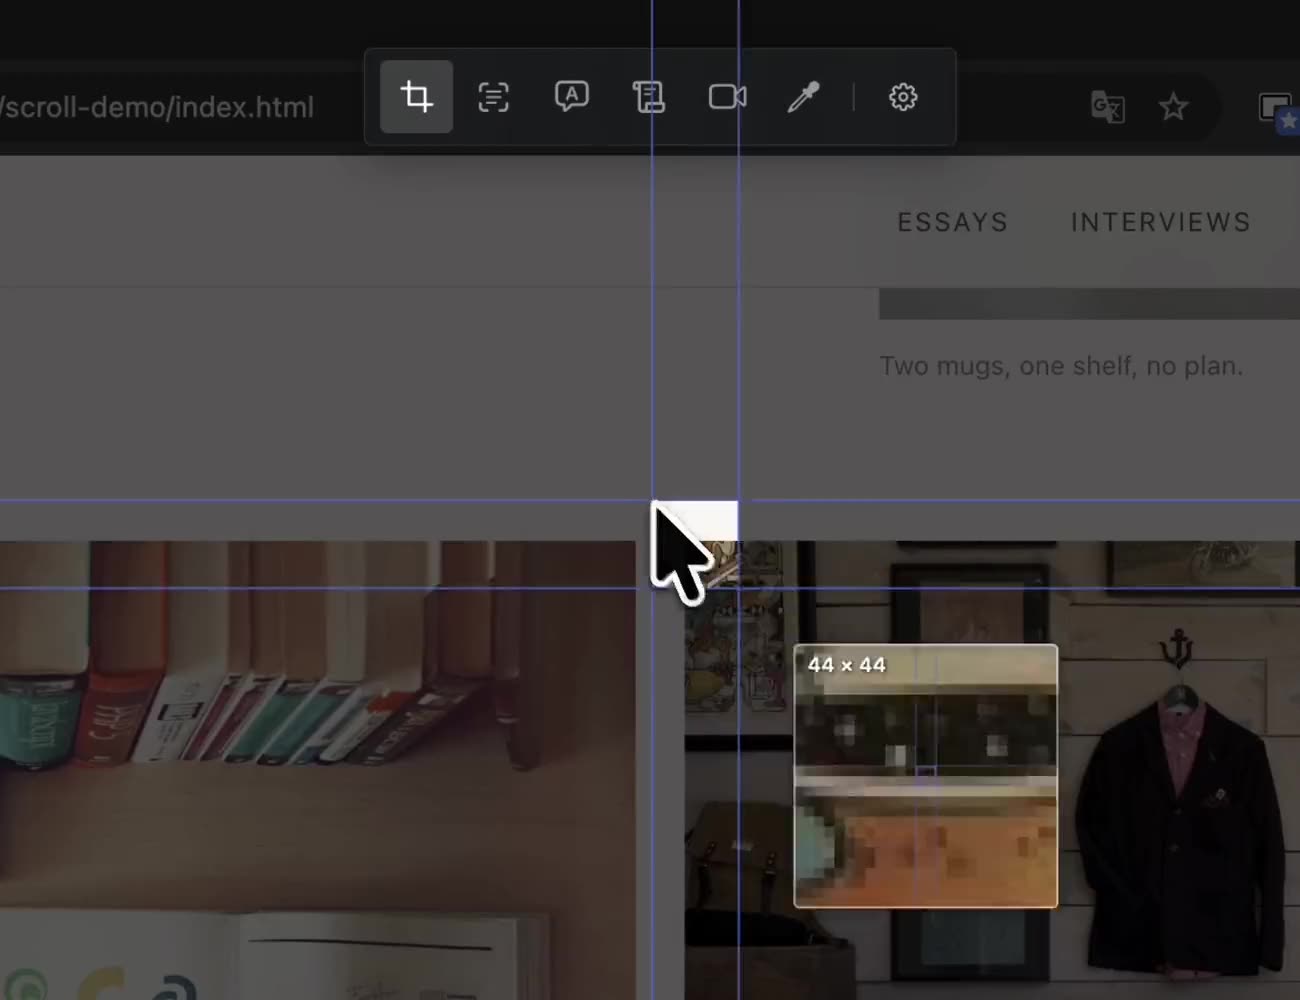
Use the magnifier and the WASD keys for fast, precise captures with zero pixel error.

Thoughtful shortcuts

Every key feature has an intuitive shortcut that’s easy on your hands.

Cheat sheet

Master every shortcut with the built-in cheat sheet and boost your productivity by 200%.

FAQ

Questions, answered.

I’m already using another app. Is Tracer better?

The specific features differ from app to app. What sets Tracer apart is how it feels to use: every major function is one keystroke away, and there are fewer steps between you and the result you wanted. Give it a few days and the difference speaks for itself.

The built-in macOS screenshot works fine for me. Do I need this?

If the built-in tool feels good enough, it’s usually not a matter of features. It’s that you haven’t tried floating shots yet. Keeping a capture pinned above everything while you work is hard to give up once you’ve done it. That’s usually the moment it becomes clear why a screenshot app is worth having.

Can it capture a long web page or document in one go?

Scrolling capture stitches everything past the edge of your screen into a single image. The result behaves like any other screenshot: pin it as a floating shot, or mark it up.

Do I need my own API key to use translation?

No. Built-in translation works right away, with nothing to set up. If you want more natural results, connect a DeepL key; if you want faster ones, Google Cloud Translation. Google’s free tier covers 500,000 characters a month, more than most people could get through.

How do I connect a translation API?

The easiest way is to let an AI walk you through it. Ask ChatGPT or Claude for step-by-step instructions to get a free Google Cloud Translation API key, then follow along. In a browser where the AI drives the web itself, a single “get me a free Google Cloud Translation API key” is enough. It can feel like needless work when the built-in translation already does the job, but connect it once and the difference in speed and reliability is immediate.

How do I open the drop zone?

Start dragging an image or video file, and press the capture shortcut mid-drag. The drop zone appears around your cursor: drag onto the slot you want and let go. Images on a web page work the same way, as long as they can be dragged. The shortcut has to be pressed while you’re still holding the drag; selecting a file alone won’t open the drop zone.

App info

Price
$3.99
Size
20 MB
Compatibility
macOS 14.4 or later
Released
Aug 2026
Last updated
Sep 2026
Languages
English, Français, Deutsch, Italiano, 日本語, 한국어, 简体中文, Español, 繁體中文

Contact